Setting up the Arduino IDE program before starting to use the NodeMCU V3 board
1675 Views |
For those who have just installed the program Arduino IDE for the first time, must install the NodeMCU board in the program first.
1. Open the Arduino IDE program.
Arduino IDE program icon
2. Go to the File menu, then select Preferences.
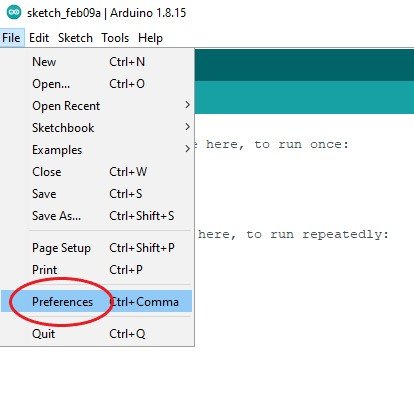
Position of Preferences
3. When the Preferences screen appears, enter the URL in the Additional Boards Manager URLs: as follows:
http://arduino.esp8266.com/stable/package_esp8266com_index.json
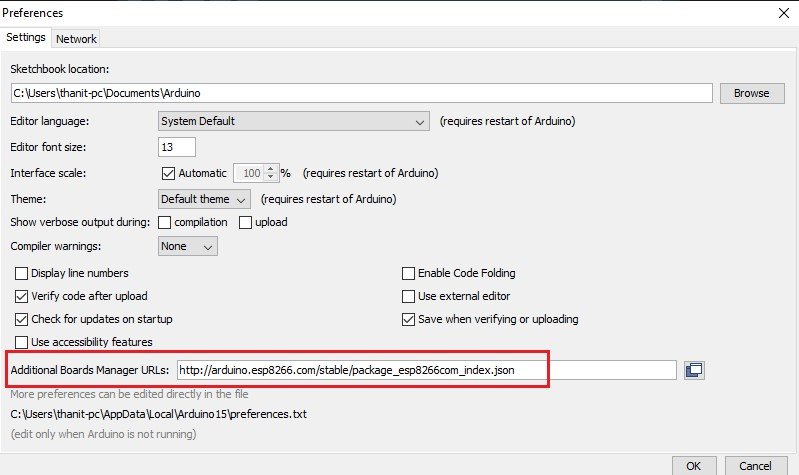
Picture of The location of the URL in the Preferences screen
4. Then install and select Board NodeMCU at Tools menu by going to Tools menu, then select Board: “_______” and choose Boards Manager as shown in the picture.
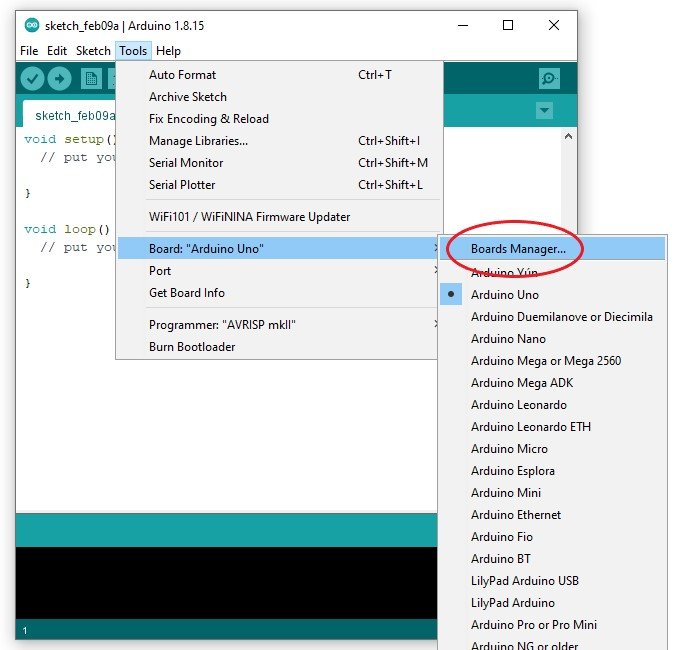
Picture of Boards Manager position
5. When Boards Manager screen appears, type nodemcu in the Type box as shown in the picture, then move the mouse to esp8266, the Install button will appear, press the Install button to install the board.

Picture of NodeMCU board installation
6. After the installation is complete Close the Boards Manager screen by pressing the Close button.
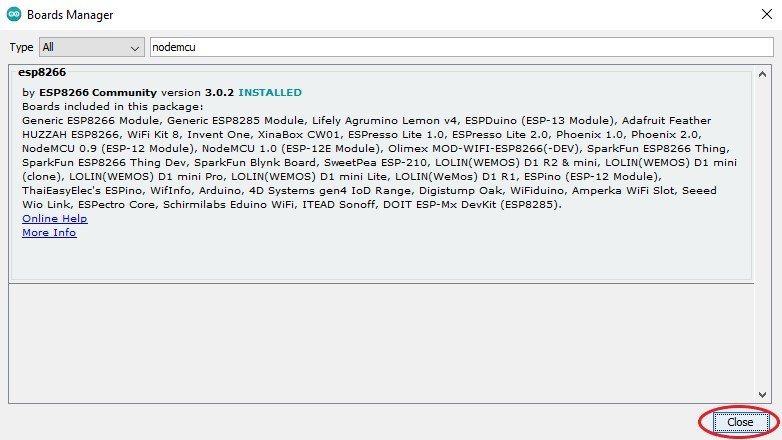
Picture of When the board NodeMCU has been installed successfully
7. After that Go to the Tools menu to select a board again, select Board: “________” and then select ESP8266 Boards (3.0.2), then select NodeMCU 1.0 (ESP-12E Module) as shown in the picture.
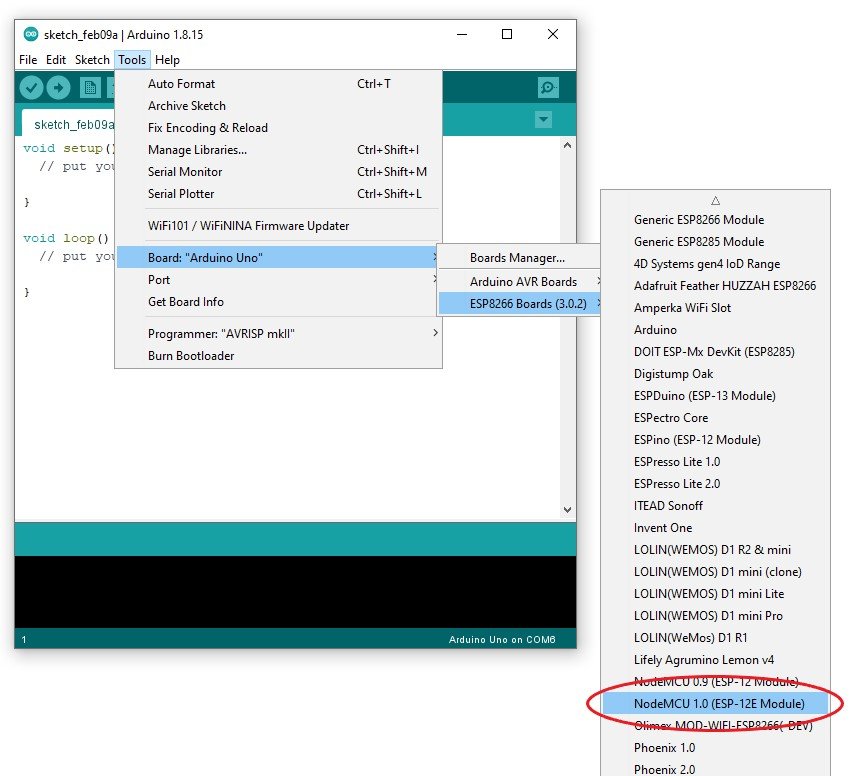
Picture of NodeMCU board selection
?")
